
Cupcake Nails!

Hey Everyone!
If you follow me on twitter @ShimmerLashes you may have seen me tweet that i fell on the steps at college on my first day back. Good on Chloe. Well i decided not to go into college today as my leg is still really stiff and i have to walk really slow going up or down the steps as it kills when i bend my knee, so anyways as i had today off i decided to paint my nails!
Today's design is CUPCAKES!
I think the cupcake design is so cute!
So here is how i created this design...
Choose what colours/gems/sequins/glitter, whatever you want to use.
Here is what i chose

Step One -
Start by applying your base coat, this can be any base coat. Sometimes i use my Sally Hanson's Maximum Nail Growth as a base coat but this time i used my Collection 2000 2 in 1 Nail Hardener & Strengthener.
Then choose which finger/s you would like your cupcake design on. I chose my ring finger and thumb.
Then using my purple nail varnish:

I painted the full nails except from my ring finger and thumb.

Then on my thumb and ring finger i painted them nearly half way.

Step Two -
Using my White nail art pen and my dotting tool,


I created the part which is like icing ontop on the cupcake.

Step Three -
Then using my purple and white nail art pens and a nail art brush i created stripes on my other nails.


Step Four -
I also applied the purple stipes onto what is the cupcake case.
Then using my Bourjois glitter nail polish

I added glitter to the tips of my ring finger and thumb.

Step Five -
Using purple glitter, gem stones and nail glue, i applied the glitter onto the white part of the cupcake to make it look like sprinkles and then added a purple gem stone onto the top.


Step Six -
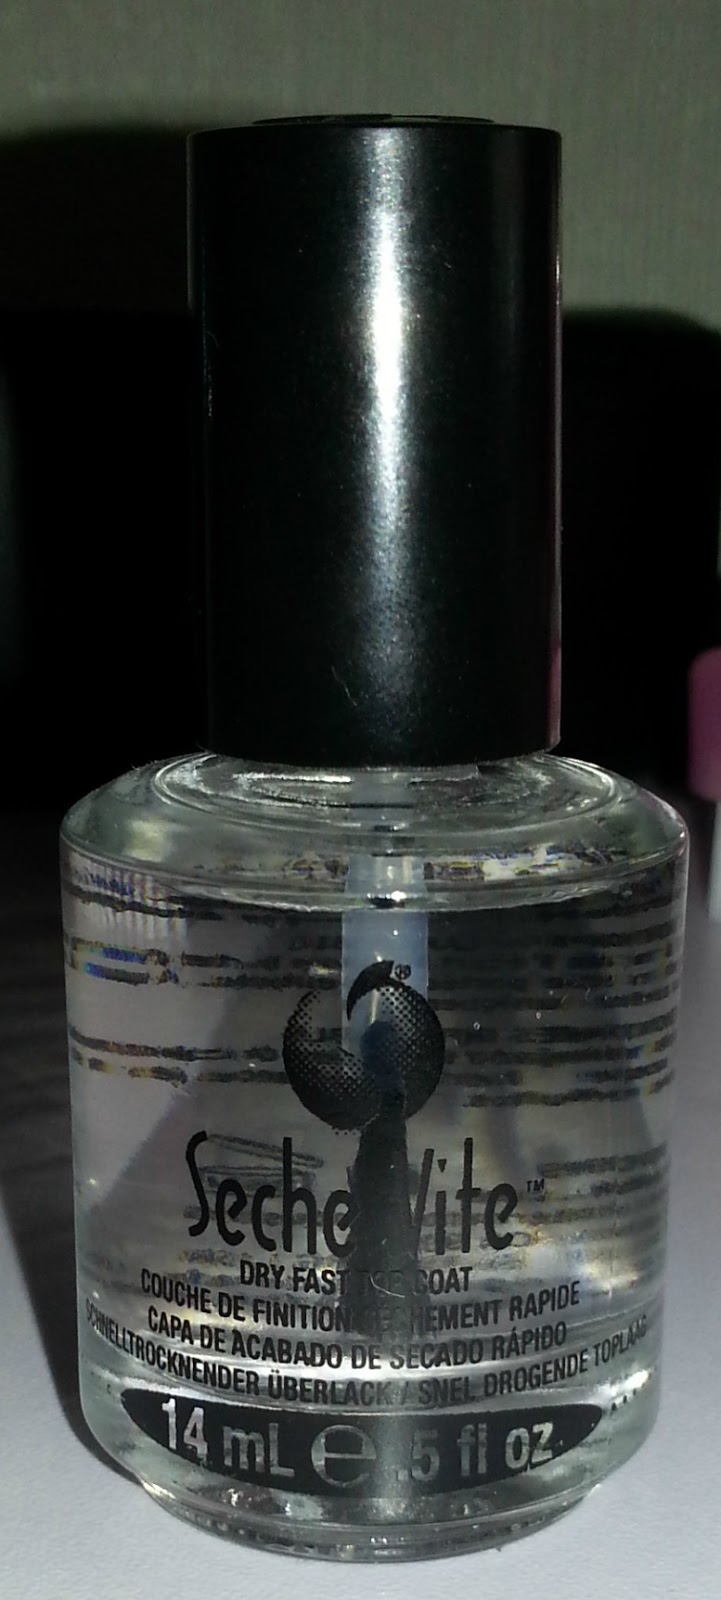
Once i finished painting my nails i then applied the Seche Vite Dry Fast Top Coat
And that's all!
Here is the final outcome

You can also make you cupcakes the other way around, so if you take a picture like the above the cupcakes will be facing the right way.


2 comments
These are so cute, I loved reading this post and I hope your knee feels better soon xxx
ReplyDeletewww.lifeofafabobsessive.com
aw thank you! :') xxx
Delete